Wednesday, August 6, 2014

Party Time: Penguin Themed Birthday


I give my kids free range for the most part when it comes to their party themes. For my daughter's 9th birthday, she chose "penguin" as the theme. I love themes like this, as it allows for more creativity in my opinion, not just your standard stuff from Party City (although I was able to utilize a few items from their Happy Feet theme).

I quickly decided (for obvious reasons) that the colors would be black, white and orange. On my Evite, I asked that attendees wear black and white clothing. This was an easy (and free) way to add to the fun and the decor!
Party guests dressed in their black and white attire!


For the birthday girl, I ordered a penguin iron-on from Etsy and attached it to a white tank top. 

DECOR:

I kept the decor very simple. That morning I picked up black, white and orange helium balloons from Safeway (when I went to pick up my cupcakes).  I added a little more color with black and orange streamers. For my table, I used a simple white tablecloth sprinkled with confetti and Happy Feet plates and napkins. 


These cute penguin cut outs are from Oriental Trading

I made goody "buckets" with items from Oriental Trading and Party City.

Found these little stacking penguins at Oriental Trading
Each girl got a cute button from Etsy


FOOD:


This part was the most fun for me! Penguin themed food was unexpected for most partygoers and turned out cute and tasty. 

I made black olive, carrot and cream cheese penguins. This was a little time consuming, but they were so adorable and the girls thought they were very yummy.  Get the recipe here: http://allrecipes.com/recipe/cream-cheese-penguins/detail.aspx

I also made an igloo cheese dip to go with my little penguins (and Ritz crackers). Get the recipe here: http://www.bettycrocker.com/recipes/igloo-spread-with-cream-cheese-penguins/3c411d56-1ba3-4f9a-9c5c-23b2c33ccb81


I bought a fish cookie cutter and cut out little cheese fish and Ritz along with goldfish crackers.

The cupcakes were SO EASY! I ordered plain white cupcakes from Safeway, then decorated them with Thin Mint cookies (yes, my daughter is a Girl Scout), M&Ms and orange gummy candy.


 ACTIVITIES:

My kids usually INSIST on a piƱata at every party, and I found this one from Birthday Express (cause you know its super fun to bash in a cute little penguin).  http://www.birthdayexpress.com/p/79665/penguin-pinata


Add caption
We played games next. I bought the Happy Feet card game and Pengaloo (this game is really fun, the kids have enjoyed playing it after the party).


Does anyone remember this?


Since the party was a sleepover, I needed some evening activities. I went to Michaels and purchased beads for the girls to make their own jewelry. Of course the girls did an excellent job and they were adorable. 


The penguin party was a giant success! My daughter and her friends absolutely loved all the fun details and it was a blast for me to plan as well. If you know a penguin enthusiast, this is a great party theme and very easy to pull off.


Friday, August 1, 2014

Flagstaff family fun: Fatman's Loop Trail


This past July, my friend Andrea and I packed up the kids and headed out on an "easy" 2.6 mile trail in Flagstaff, AZ on the east slopes of Elden mountain.  It was a particularly warm and sunny day with temps at 85 degrees.  We parked at the trailhead right by the Flagstaff mall, sprayed down the kids with sunscreen, I tossed my 35 lb three year old into the backpack and off we went. 


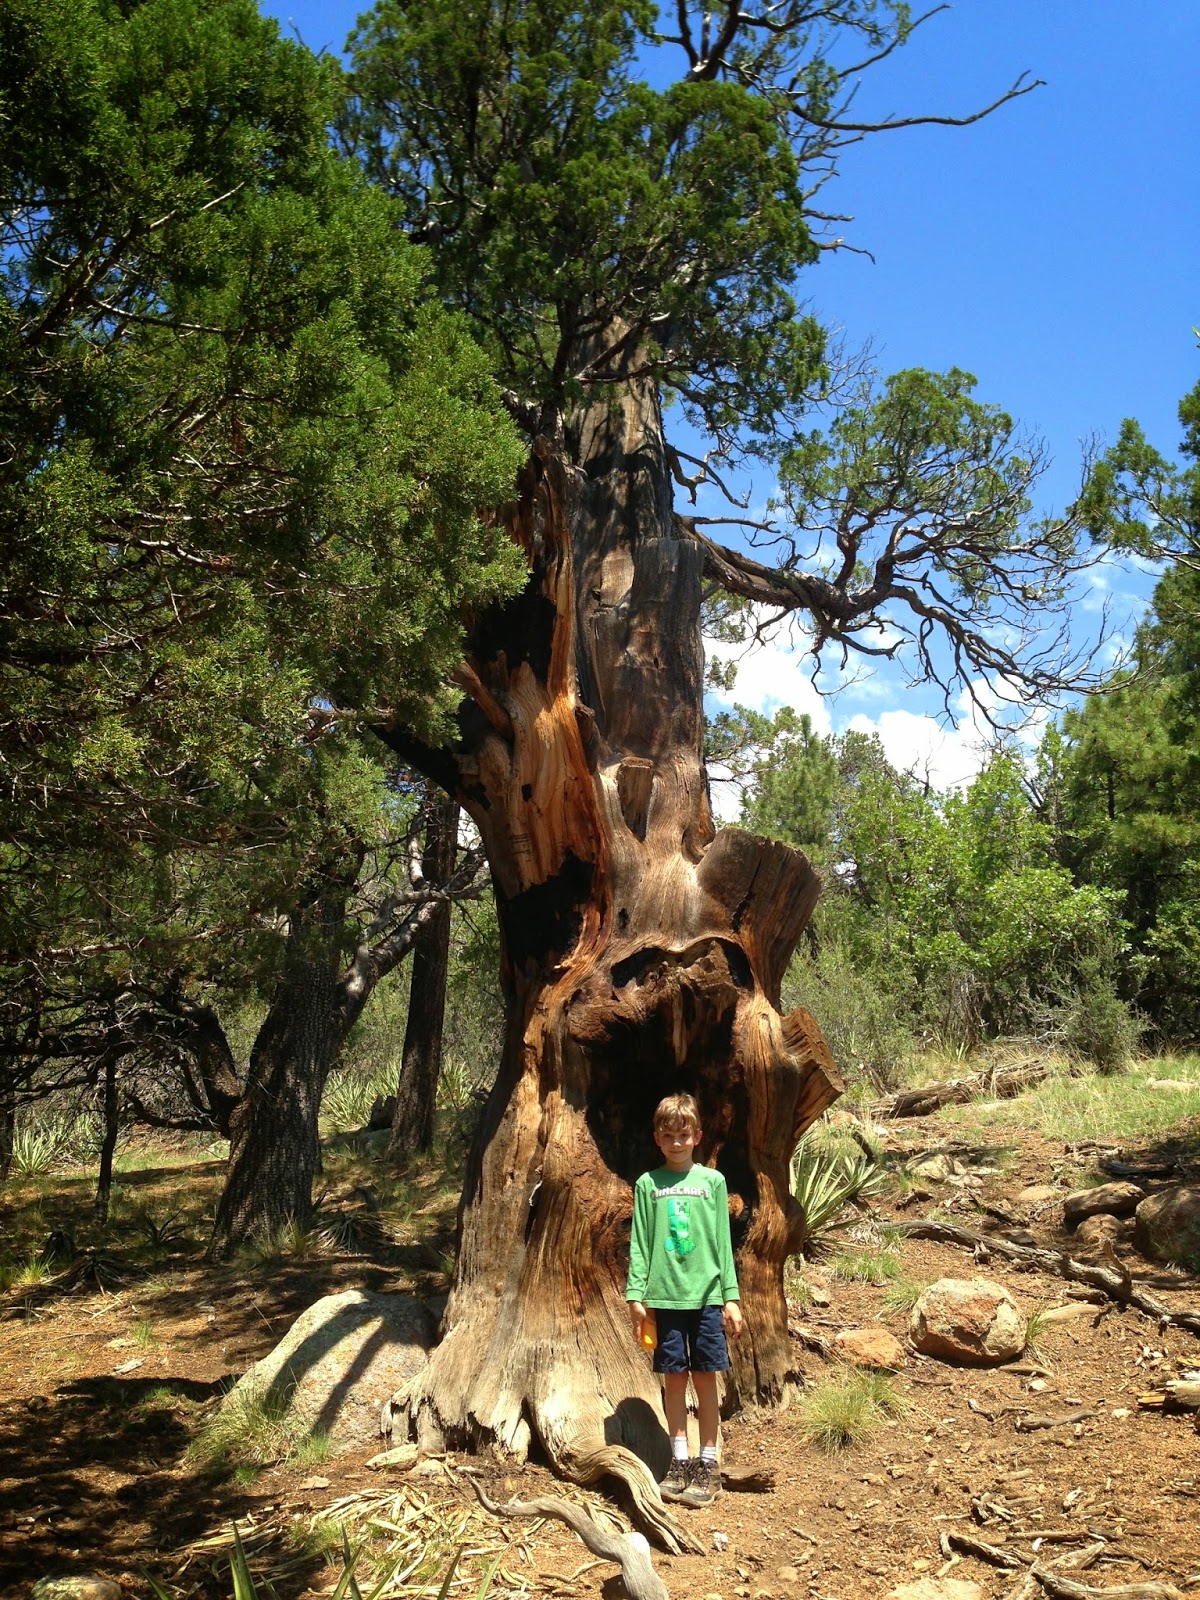
We chose to start counterclockwise  (I read another reviewers tip that that was the least steep side and they were very correct!). It was a steady incline up, but nothing too terribly challenging. The issues I had were related to the giant child on my back, but there is no way he would have been able to do the loop on foot. The other issue was that we started around 11am and the sun was very intense and the temp was pretty high. The scenery was gorgeous, with lots of interesting trees along the way. 


We stopped about halfway to refuel the kids with water and pirates booty (something they had very much been looking forward to). There was a couple with a young baby stopped there also, and they asked us how much farther to the decline (we had no clue) but apparently, we looked like experts! 
Thumbs up for being halfway done!

The view from our resting spot


After our break, we walked up a little more and finally made it to the two big boulders! This was the photo op I had been waiting for. 


The views at the top were magnificent!

Not long after the big boulders, we finally began our descent. This was much appreciated and the whining decreased exponentially! There were some steep areas and large rocks to maneuver, and I was very grateful that I read that tip to start on the other side of the loop.

We finally finished and loaded our hot and sweaty kids back into the car. Everyone was very relieved it was over, but most were also very proud. We headed out for some well deserved lunch of Mexican food at our fave spot, Salsa Brava.

It was a beautiful trail and a great experience for all of us. It is easy enough for most fitness levels and kids. Next time, I definitely want to try it earlier in the day or when its nice and overcast. But if are going to be in the Flagstaff area, Fatman's loop is worth it.

Getting there:  Follow Sante Fe Avenue past the Flagstaff Mall to the trailhead parking lot (keep a lookout, it was easy to pass). It is on the North side of the street.


Friday, July 25, 2014

Why I run in dumb costumes


Yes, I will admit it. I like to run in dumb costumes (that's my husband and me above in our Devo costumes when we ran the relay race in the Rock N Roll Marathon). The part of that sentence that sounds odd to me is "I like to run." I have never been a runner in my life, but in the last few years, I finally get it. I signed up for Tough Mudder (a 12 mile obstacle course race) with a little over five months to train. I had never run in a race before and actually hadn't done much running ever. To prepare, we started entering 5Ks and then gradually added miles. I learned over those months and since after, that running isn't that bad and (eek) I actually enjoy it.

Kiss me I'm Irish run (8K)
I do have a love-hate relationship with running, however (as I assume most do as well). I often hate the thought of doing it, but during, there are moments when I absolutely love it. My mind can escape any of the stresses of every day life, I really don't think about much at all. 
The benefits of running far outweigh my feelings towards it. It's a stress-reliever, mad calorie burner and its relatively easy (I've been doing it since I was able to walk for the most part and I can do it almost anywhere). It's free (minus decent running shoes), which is a bonus. However, it's not exactly free for me, when you factor in the cost to enter a race and of course the cost of my dumb costumes. So why spend money to run and why on earth dress in a dumb costume? 
Team "I Love Lamp" (our first 5K)
Team NAUGHTY in the 12ks of Christmas


It's simple really: MOTIVATION

1. Signing up for a races makes me run. I have to train for it, I don't want to die out there
2. Every run is a feeling of accomplishment
3. Dumb costumes are fun and make me happy.
4. Coming up with the idea and creating the costume help get me excited about RUNNING
5. I have fun running in my dumb costume!

So to sum it up, running sucks and costumes are fun.

Thursday, June 26, 2014

Party Time: Minecraft Themed Birthday

Like many almost 8 year olds out there, my son was obsessed with the MineCraft video game. So when it came time to pick the theme for his birthday party, this was kind of a no-brainer. At the time however, I was not that familiar with the details of the game. I decided to educate myself, so I watched some online tutorials, asked him some questions, and soon I felt I was good to go. One word to mostly sum it up: square. Everything in the world of MineCraft is pixelated and therefore made of squares, so I had to think "inside" the box. 

Here is the tutorial I watched (I also included it in my Evite, in case others were unfamiliar): 

And now on to the party details of our "MineCraft Madness" party . . . 

DECOR:

On the front door, I hung a vintage looking MineCraft poster, purchased at Walmart. Since they were only $5, I got a different poster to hang up inside the house as well. 


I decided I wanted to make a big impact with a large creeper head. To create this, I taped salad size square paper plates (7 inch) in shades of green and black to the wall.  I covered the food table with a "grass" tablecloth.  I also picked up a few large square bowls for food and large square dinner plates for the buffet. All of these items were purchased at Party City.
http://www.partycity.com/product/kiwi+paper+square+dessert+plates+20ct.do?from=Search&navSet=square%20plates&bypass_redirect=1


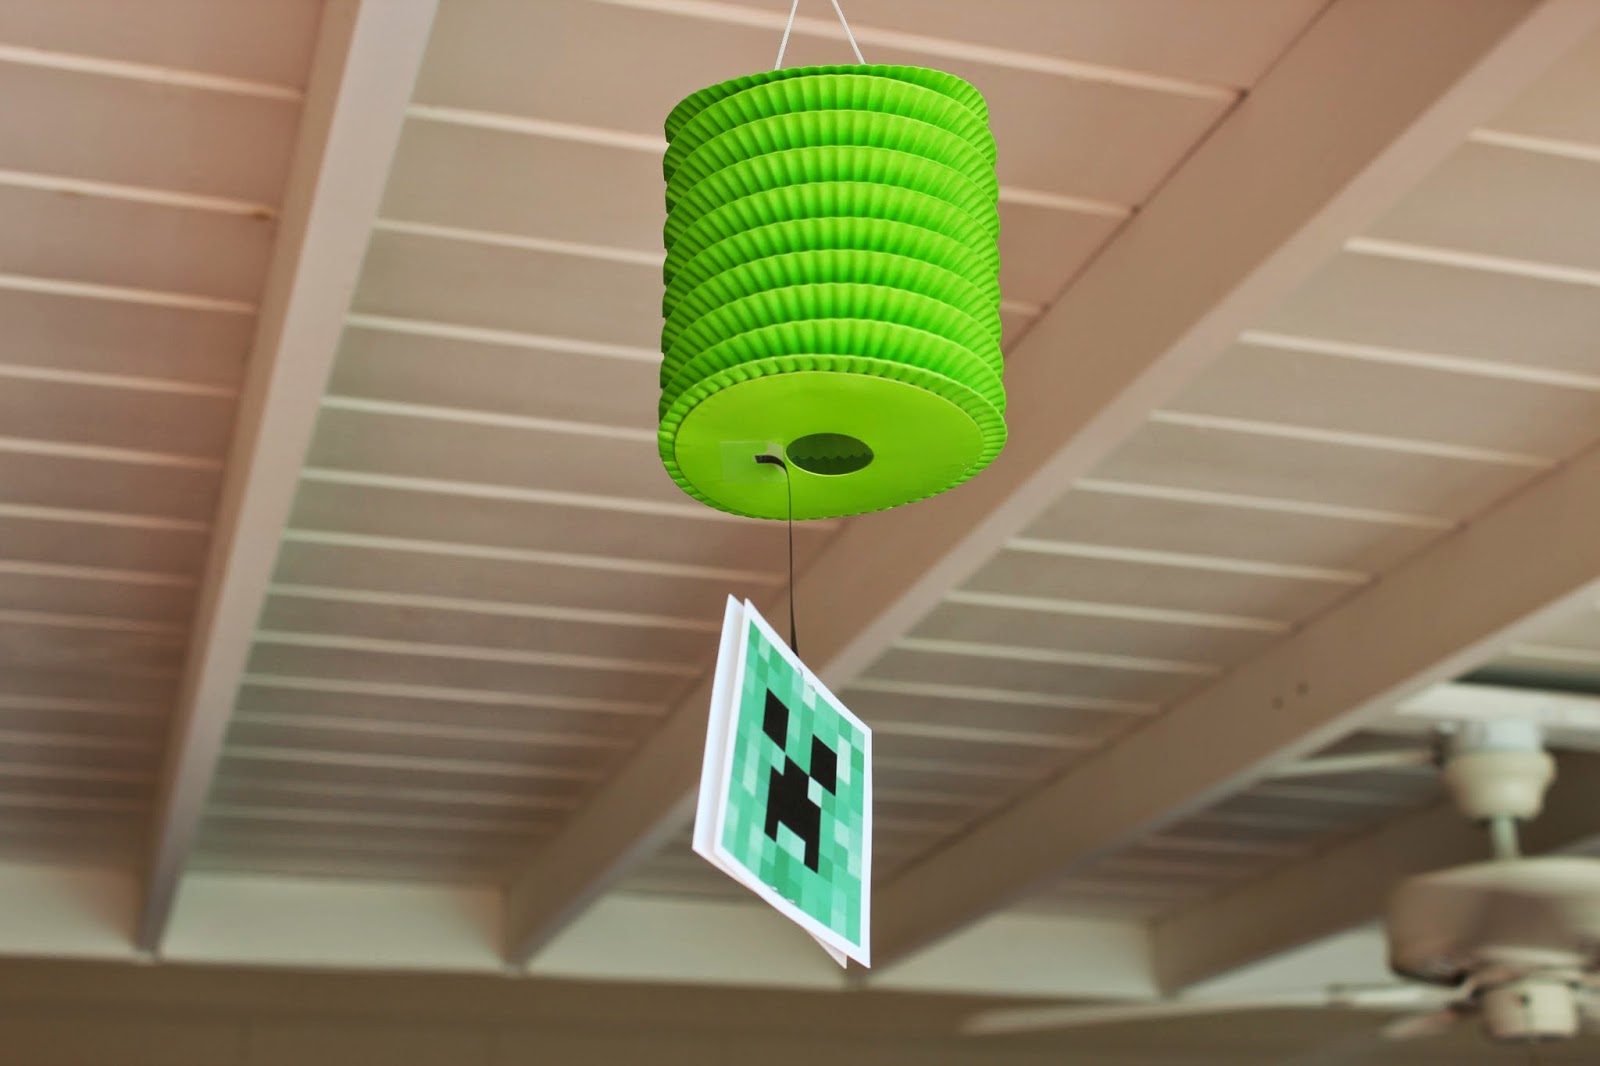
I drew creeper heads and TNT with a sharpie on heliums balloons. I also added little creeper heads to a paper lanterns garland from Party City.  http://www.partycity.com/product/kiwi+lantern+garland+12ft.do?from=Search&navSet=green%20lantern%20garland&bypass_redirect=1


This MineCraft banner was purchased on Etsy (instant download, then printed and cut out at home).


https://www.etsy.com/transaction/136811758

ACTIVITIES:


Since "crafting" is how you create things you need in MineCraft, I decided on a crafting area at the party. Kids were able to make a pickaxe with popsicle sticks and tin foil or create a "skin" with small squares of paper. I pre made the masks by cutting out eye holes and a mouth and attaching them to popsicles sticks. This saved a ton of time at the party!


FOOD:


I used food directly from the MineCraft game for our buffet (melon, carrots and cookies). We also served square pizza (I ordered from a pizza place that cuts their pizza into squares, so handy!). Also from the game, we had "sticks" (pretzels), "spider eyes" (grapes), "water" (blue jello) and "lava" (red jello). The "creeper juice" was Warheads sour apple squeezers (purchased at Walmart) with the label removed and a creeper label added.


The cupcakes were from Safeway. I simply ordered chocolate cupcakes and ask them to decorate them with green "grass" on top. I purchased the cupcake toppers from Etsy (download only, print and cut out at home, attached to toothpicks). https://www.etsy.com/transaction/136486065

For the cake plates, I created TNT labels and glued them to red square plates. 


This awesome party was actually very simple. The food was ridiculously easy, the decorations were simple to create and had a big impact, and were mostly "made" (printed) by me. It was easy on the budget, a good bang for your buck, if you will. If you know a MineCraft lover, I highly recommend throwing them a party like this one, they will LOVE it, trust me.


Wednesday, June 25, 2014

Mommy tip: Hang your kids art

As a parent, and as your kids get older, one thing you will notice is how much STUFF your kids brings home from school, camp, etc. And a large portion of the STUFF, is their precious, hand made art. But over time, it piles up and just becomes clutter and that is sad.

Let's face it, some of it is just better than others. And reality is, you just can't keep it all. Even thought it was made by your precious angel, and they certainly treasure each one as if it were their greatest masterpiece (especially after they spot their beloved creations stuffed in the trashcan), there is no way to keep every. single. piece.

So how do you deal with it all?

Step  1. Be selective. Pick out the stuff they worked hard on and that you want to preserve for antiquities. If its something cute that you feel the need to keep, but it might not be frame worthy, stick it in a file, an expanding file folder works great to keep for each child. Be sure to note the year on the back of each one.

Step 2. Trash it. Wait until they aren't home to toss the rest.  Make sure you either take out the trash before they get home, or it's stuffed way down at the bottom. I know this sounds cruel, but it comes from a place of love :)

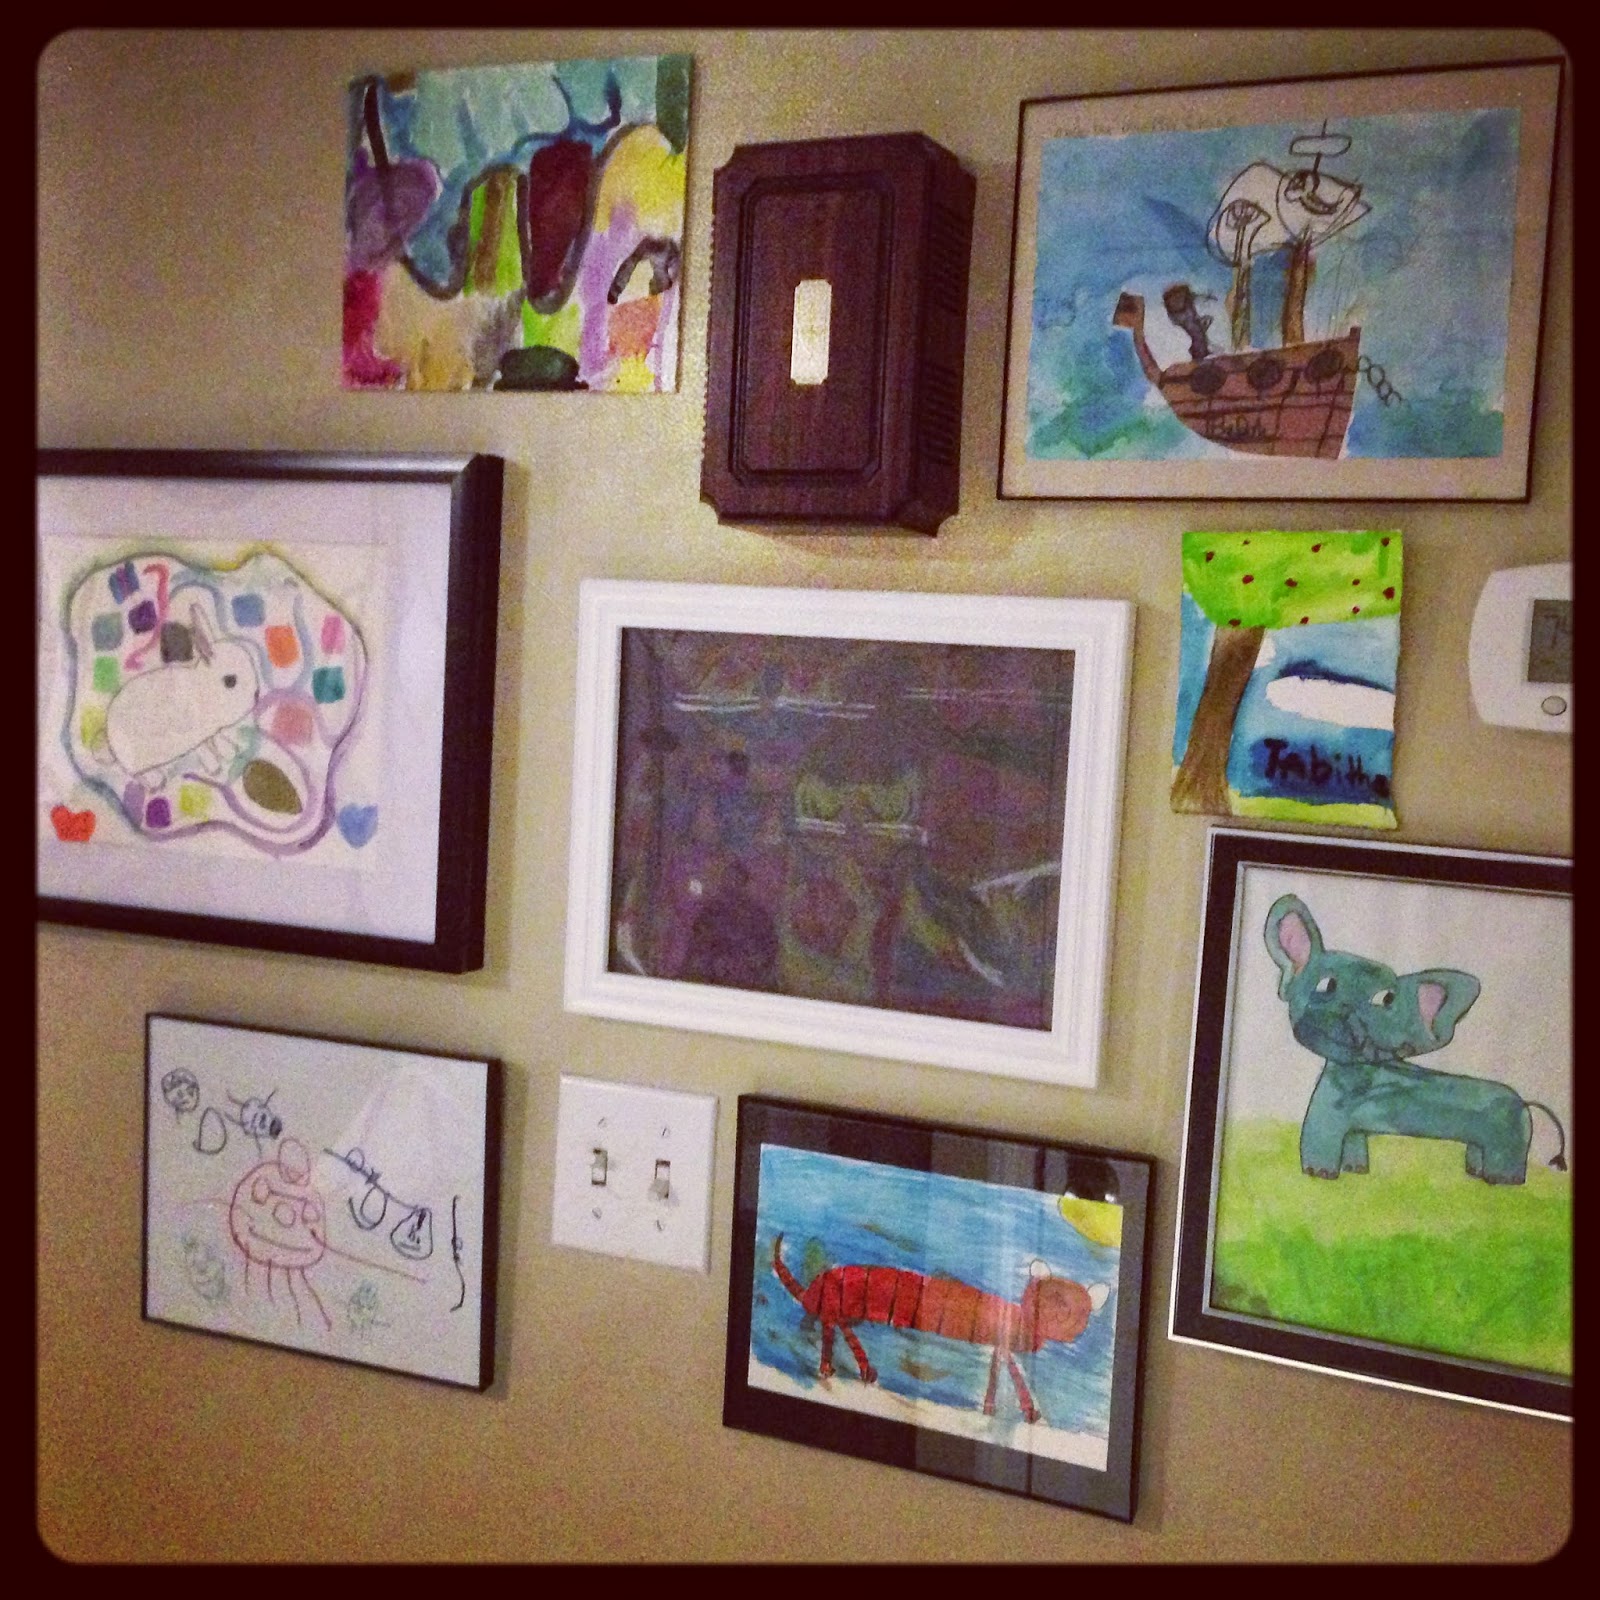
Step 3. HANG IT! Take the best of the best, buy cheap frames and frame that stuff! A great way to display it all, is to consolidate it on one gallery wall. The best part, is that you can keep adding to it. Other great places to hang kid creations is in their bathrooms, bedrooms and hallways near their bedrooms. My son did an awesome drawing of a dinosaur in a bathtub, its perfect right outside their shared bathroom. I couldn't have purchased a better piece if I tried.


I get tons of compliments for my kids art gallery wall. It makes my home even more eclectic than it already is, plus my kids get to feel a sense of pride every time they walk by. 

Adventures in baking: Monster cupcakes

So, being the wonderful, amazing friend that I am, I volunteered to bring cupcakes for a monster themed first birthday party for a good friend's son. My first thought was to scratch the whole "homemade" component and just order cupcakes from the bakery. I've recently been on a mission to simplify my life and this just seemed the logical, easiest solution.

But, after a few peeks around Pinterest, and seeing a few easy ideas,  I decided that I was up to the task of baking them myself. Afterall, how much more gratifying would it be to show up with amazingly delicious and adorable cupcakes that I actually made myself. After a much longer period on Pinterest, I settled on brightly colored sprinkles and marshmallow eyeballs on toothpicks. However, after a trip to ABC Cake Decorating and a brief discussion with an expert there, I decided to attempt a "grass" tip to make furry monster cupcakes, complete with various sized sugar eyeballs.

I used this recipe for the cupcakes (the only change I made was to use French Vanilla flavored cake mix). http://www.recipegirl.com/2007/03/16/white-wedding-cake-cupcakes/

and I used her buttercream frosting recipe and followed the directions exactly: http://www.recipegirl.com/2007/03/16/wedding-cupcake-buttercream/

I decided on bright colors for my little monsters and bought special food coloring at the cake decorating store, I went with red, blue, green and orange (I added lots of drops to make these colors extra bright).


I also decided that striped cupcakes would be way more exciting than one simple color each. I meticulously scooped in layers of two or three colors into each cup. This turned out to be an extremely time consuming step, but in my opinion, very worth it. They were adorable!

 Notice the bright hues!

Next was the frosting. For this, I used the same colors as my cupcakes.


The grass tip was a bit of a challenge for me, but hey, these are monsters and they don't need to be perfect. With the addition of the eyeballs and mouths, they were perfectly wonderful in my opinion.


Here are a few shots of the other decor and food the hostess had an the party. 


End result = Success! One happy little boy, one happy mama and a happy me :)